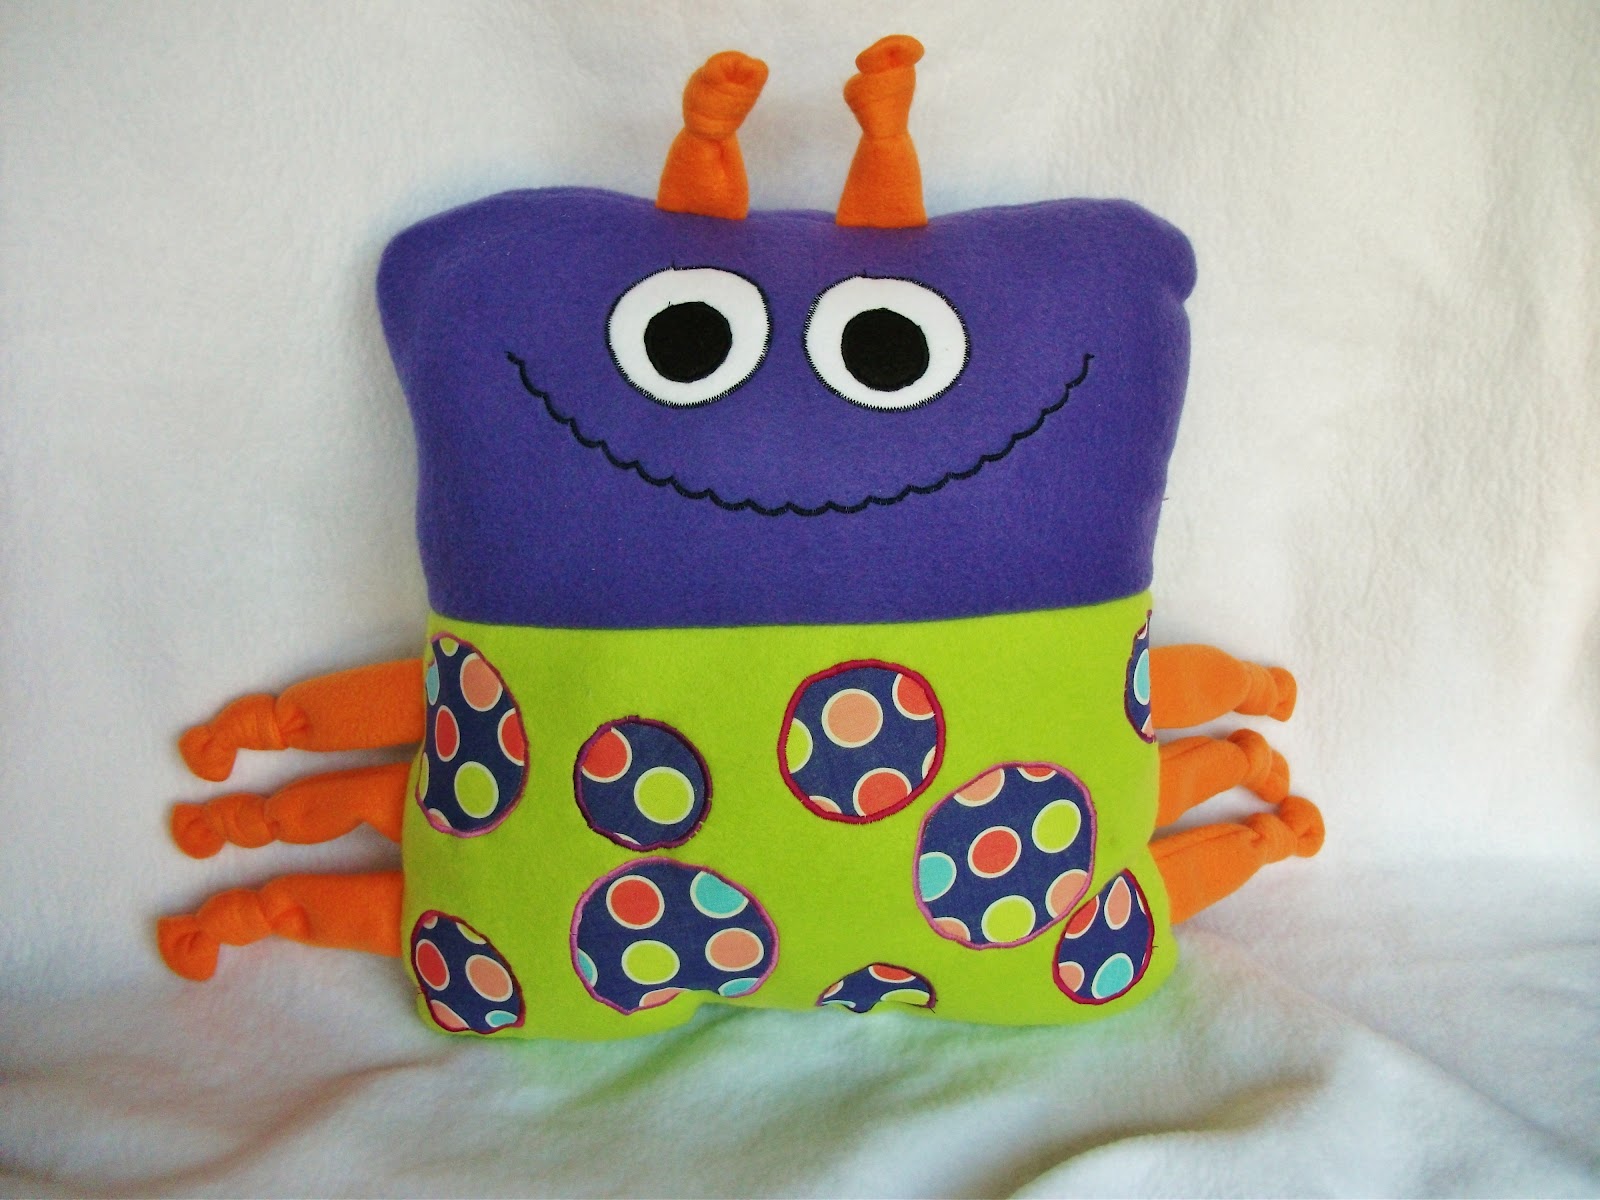
I saw this cute pillow (below) in a JoAnn fabric store ad, and couldn't believe they actually sell a pattern for something so simple. I decided to tackle this project with no pattern, just a picture. I think mine came out quite well.
I used remnants, so I will give you the dimensions of my cuts, not what I bought.I will also refer to them my color as opposed to A, B, or upper and lower etc. I think it will be easier to follow.
Note: I used fleece, but flannel could be used also.
Here is what I used to make the pillow.
Purple fleece 6 3/4 x 14 3/4 inches (cut 2)
Green fleece 8 3/4 x 14 3/4 inches (cut 2)
Orange fleece 3 x 6 inches (cut 2)
3 x 8 inches (cut 6)
Coordinating fat quarter
Fusible interfacing 8 3/4 x 14 3/4 (cut 1) You could also use stabilizer, but this is what I had.
Heat and Bond (double sided iron on bonding for the fabric circles)
White scrap for eyes
Black scrap for eyes
Black rickrack (optional; I used a decorative stitch)
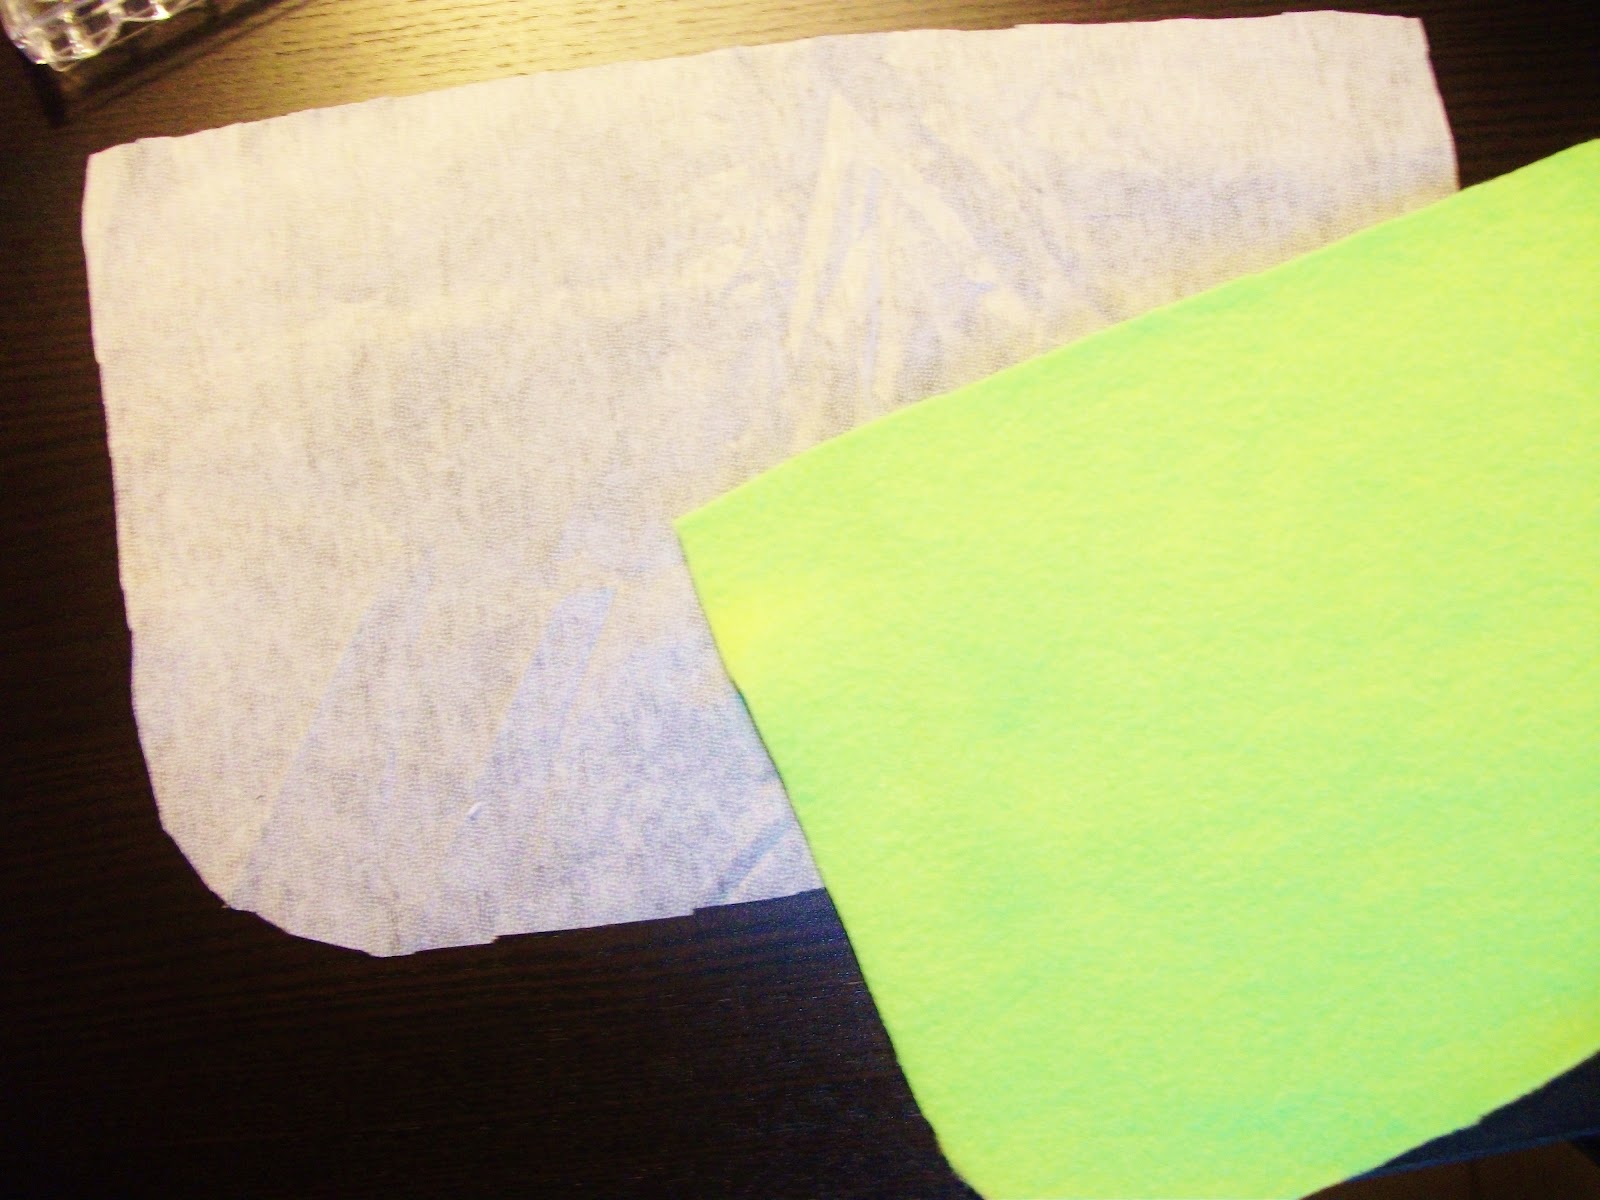
First you will make all of your fabric cuts.
Use a small bowl to round 2 corners on the green and purple cuts.
Do the same for your iron on interfacing.
Iron the interfacing onto your one of your green cuts. This will be the front of the pillow where the appliques will go.
Now go on a hunt for circular objects for the dots. You will need 3 different sizes for the spots. You will also need a smaller circle for the iris of the eye.
The puffy paint bottle is what I used for the x-small eye. I used the vitamins above for the white of the eye.
Okay. Stay with me here, there are two ways to do this.
1. You can use webbing (if you do it this way, you will need to do the eyes separately)
- iron it onto your fat quarter
- trace the circles onto the webbing side
- cut them out
- iron them on the interfaced green cut
Eyes
- follow the steps above
- trace 2 small on white
- 2 x-small on black
Follow package instructions for ironing you bonding on. I covered the green fleece with a pillow case because I didn't want to burn it.
Okay, here is the second way.
- use Heat n Bond
- trace all of your circles (including the eyes)
- 3 large
- 3 medium
- 5 small- 3 for the body and 2 for the eyes
- 2 x-small
- cut them out
- iron them to your fat quarter
- peel the paper off and iron them to your interfaced green fabric
Now you should have your circles in place, so set your sewing machine to the zig-zag stitch and adjust the stitch length and width to something you are happy with. I tested a few stitch lengths and widths on a scrap of fabric. The trick to sewing on appliques is to make sure that the little line on your foot is lined up with the edge of the circle. This will keep your zig-zag equal between the applique and the green fleece.
This isn't the greatest picture, but you can see the little line on the clear part of the foot in the middle. That should be on the edge of the circle.
My zig-zag stitch was skipping a bit. This is easy to go back and fix. Just line up the needle where the stitch is missing and do a few forward and backward stitches to fill it in. I think my tension needed tweaking.
Now for the purple face. You will need to center the eyes onto your purple fabric. This will be different for everyone, because the size of your eyes are likely different. Sew them on the same way you did the circles.
In the picture in the ad, they used rick rack for the mouth. I didn't have any, but I have a decorative stitch on my machine that is similar.
To make the smile, I used a plate and pressed it into the purple to make a "crease" in the fabric. I did this until I was happy with the placement of the smile.
Then I traced the "crease" with a fabric marker.
Again, keep your foot centered on the line, no matter what the stitch is doing, especially with this stitch because of the way it scallops.
It's a little crooked, but I am okay with it. Gives him character, and in the end, you will never see it.
Antennae and legs
Fold them all in half and sew down the side, and one end. Turn them inside out and turn out the corners.
I like to use a chop stick to turn them and push out the corners.
Tye a knot in the ends of all of them.
Sew the front purple and green cuts together using a 1/8 seam allowance. Sew the two back pieces together also.
Position the two antennae above the eyes and three legs on each side of the lower body. Pin them in place. Make sure your pins are at least 1/2 inch in so they don't get caught in the seam allowance.
Now with right sides of fabric together, sew the front and back of the pillow together leaving a 2-3 inch opening in the bottom of the pillow. Make sure the legs are all in place and don't get caught in your seam.
Now turn your pillow out. It will look a bit crazy, just keep working with it until it is all turned out.
Time to stuff!!
Use baseball sized puffs of stuffing and make sure you fill the corners.
Hand stitch your opening shut and you are done!


.JPG)